Pages

Showing posts with label DIY. Show all posts

Wednesday, September 16, 2015

Black & White Word Painting

Hi guys!
          Lately I have been feeling super inspired by black and white word paintings. However, I am no painter nor have I claimed to be, so this type of project was right up my alley!  Between this and this   I knew I needed words on canvas in my life. I really liked the idea here of using lyrics to a song to make things more personal. Lately, I've been loving This Must be the Place (I prefer the Iron & Wine version Chance prefers the original Talking Heads...A house divided you could say.) Here is the final result!

Full disclaimer: I might have been drinking wine while painting and I might have repeated and skipped lyrics.
But it doesn't bother me so..... 

 All you need is a canvas or two and black craft paint.  I used a very small brush because I couldn't get the cursive to be legible with a bigger brush.  Eventually, I'd like to put a huge colorful painting right in the middle of the two but I haven't found the right one yet. I would also recommend using much bigger canvases but I had these on hand so they just kinda happened.

      This is a perfect rainy day project especially if you don't think you can paint. Hope you like it!

XOXO
Molly

Monday, January 19, 2015

DIY Chalk Paint


Quick note: Since it's now September (original post was in February) I've used this recipe a few times now and I have some notes! So anything in italics is new or  I' have since learned since this first post. 

Hello!
    How is your new year going? Over here it's been good and busy!

       I have been seeing chalk paint everything all over Pinterest and Cara had told me about a chalk paint she had used for her craft room cabinet. We went and got some from a local store but HOLY CRAP that stuff is expensive for the amount you actually get. I know, I know quality over quantity is important and I did buy a little sample size but I knew there had to be a cheaper way.

     I found the perfect chalk paint recipe after a few different attempts and looking at tons of different DIY recipes off of Pinterest! One such fail was that sanded grout that seems to have worked for others but it did not work for me. It kept feeling sandy and  wasn't smooth enough of me. So then I tried plaster and through trial and error I found a constancy I liked.  

A few things first:

           -I would buy a sample size of the higher end "real" chalk paint. You'll be able to see the consistency you want and it goes a long way. I used it on the shelves of the cabinet and still have a little bit left for another small project. Or if you don't want to buy any and go straight to the homemade stuff the DIY paint/plaster mixture should be the  constancy of a thickish cake batter. 
   

          -DON'T use hot water to mix the plaster. I read on a different site to use really hot water, when you pour it into your paint it will turn it into a ball of thick mush that looks like butter frosting. I used cool water and that turned out.
I don't know why all my analogies are cake related.

          -I used two coats on mine letting it dry completely in between. Then sealed it with wax paste from Lowes.  This still seems to be true. Two coats then the wax, the hutch and now side table are still holding up great!

           -To get the blue that is shockingly similar to the expensive paint I used "Trade Secret" in a Valspar sample. The white was Valspar's "Ultra White" (mainly because I had a quart of that on hand haha)


CHALK PAINT RECIPE
       -4 tablespoons Plaster of Paris
 -3* tablespoons cool water 
-2 or more cups of paint 
2ish cups seems to be about the amount in a Valspar sample. 
*You can use more water to thin out your paint as needed


Mix the water and plaster together until smooth.
Pour in the paint and stir together until the water/plaster doesn't sit on top.  

It'l thicken up as the the three ingredients sit together so don't worry if it looks a bit thin

After I was finished painting the hutch I sealed it with wax paste. I just rubbed it on with a cloth and so far it's holding up! Have you used a chalk paint recipe or have tips that you have tried and have worked out? 


Heres one of the new projects I've done using this same recipe! To get the turquoise color I used for the side table is Valspar Pantone Cockatoo and I love it! I forgot a completely before picture.
xoxo,
Molly


Monday, September 15, 2014

diy mason jar lid pumpkin


Wondering where we've been for the last year? Well we got a bit busy... Life you could say. Cara and I are sorry that we kinda quite cold turkey but we are back now!

     So without further ado:


They are cheap inexpensive to make, take under 15 minutes, and look adorable! You could even make these with a kid you trust with hot glue gun... Yes, they are that easy. Even if you have convinced yourself you can't "do Pinterest-y things" you my friend can do this.

Supplies:
15 Mason Jar Lids
Twine
Cinnamon Sticks 
Green Burlap
Hot Glue
Orange Spray Paint (optional) *

*Spray paint before you tie them together 


Step One: String the lids onto the twine facing the same direction 


Step Two: Tie the twine in a double know and spread the lids back out to make a circle 

Step Three Cut a diamond shape out of green burlap for the leaf

Step Four Hot glue a thin line around the cinnamon stick and insert the center of pumpkin 

Step Five Glue on the burlap leaf

Side Note: Every time you move these you will have to readjust the lids to make a perfect looking circular pumpkin!


Boom. 

Super easy pumpkins. Now go make some and let us know what you think!

xoxo,
Molly & Cara


Monday, October 14, 2013

Molly & Chance: January wedding July reception

Last year on Christmas Chance proposed! We were married January 29 in a tiny courthouse ceremony with only immediate family present. It was perfect for us because the we are not big fans of cheesy, long, ceremonies where everyone is bored and ready to have a good time.... So we skipped it!  Now don't get me wrong it was still the most special day of my life and it was beautiful with the quaintness of it all but Chance and I just wanted that to be quiet and simple (and it was fun to surprise other family!)


My brand new sister-in-law Kylee was our photographer for the day.  Thank you so much for helping out! 

 However, I'm a sucker for family events and so Chance and I decided to have our reception for all our friends and family help celebrate with us here at Saratoga Resort and Spa in Saratoga, Wyoming! We've spent the last few anniversaries there and have been going there with my family for years, its an amazing place to stay. 

Cara helped with every single detail and together we pulled off an amazing woodsy, rustic, Wyoming reception! 


First, our photographer, Charity is amazing and you should check out her work! She really did an amazing job capturing the feel of our day!  Second, I love details so Chance and I had as many special little things as we could fit in! 


Mimosas in the morning & the glasses Cara created (for half the price as the store ones... but more on that later!)

Cara helping me get ready!

These were our guest place markers because I didn't actually care where everyone sat... Just as long as everyone had a seat! 

Super awesome shades for later... Yes a few of them have bottle openers built in

The dress I wore originally wore in January from Ruche


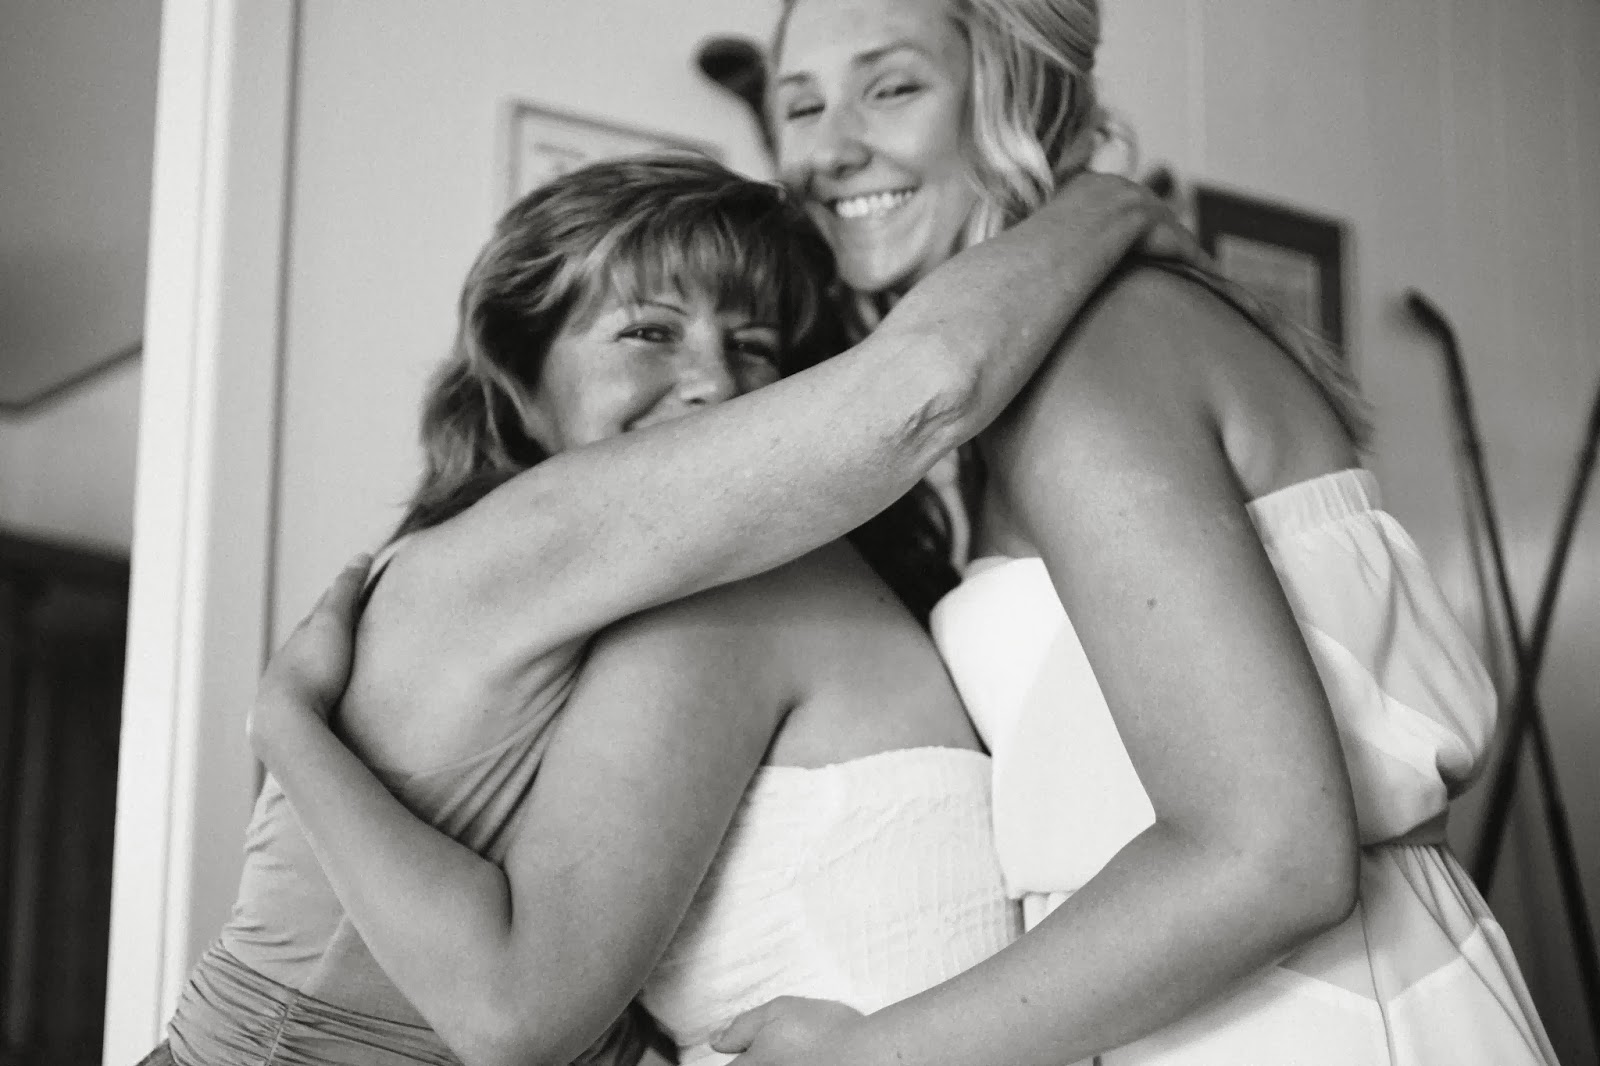
My mama, Cara, and I 


Cara and I created the bouquets, DIY all the way baby! 

 
We had our photos done at a place called Aspen Alley in the middle of Medicine Bow National Park
Chance and I may not have had a ceremony but we love getting fancy with our friends! 


Deep in the heart of the mountains 

Chance and I now have our very own tree!

Once we got back to the resort we set up for our reception, we were able to do a bit the night before but we were worried about wind and rain so we waited for most of it. 

Honey Cakes  an amazing local bakery created this beautiful cake and the cupcakes to go along! 
I forgot to save the site I ordered the UP cake toppers


We created our thumb print tree (featuring our girls, we had to put them somewhere) from Spotted Nest on Etsy. It was so amazing and she even got Maggie's spots correct, I love how it turned out!


 Cara came up with the popcorn bar! 

I know I know I realize I got our elopement date wrong ;)


Prosciutto, Cantaloupe, and Black Berries... So beyond good


After trying to figure out a mason jar themed center piece (and Cara and I tried!) We found these lanterns on sale at Target for a $1! Put them with some burlap and sprinkle paper hearts... you've got yourself a beautiful and simple center piece! 


But the very best part of the night was jumping into the mineral hot spring pool! It's naturally heated and chlorine free so the entire party hopped on in! 


Thanks for letting me share our beautiful day(s) with you!!

xoxo
Molly